Showing posts with label baking. Show all posts

Feb 13, 2018

Strawberry Dream Cake

Last month a friend was looking for a non-cake-mix strawberry cake on Facebook. She found this one but you had to subscribe to the newsletter if you wanted to get the recipe... so I did. Then I posted it on her Facebook post.

That cake just kept haunting my thoughts so when fresh strawberries showed up at Ream's I made this yummy cake, from scratch. It was a HUGE HIT at my house. So much so that a couple of weeks later we all wanted it again, but me? I really didn't want to go to all that scratch-cake trouble so I have created what I call-

Strawberry Dream Cake- Lazy Girl's Version
(This cake uses about 3 pints of strawberries)

Cake
1 white cake mix
3 eggs white
1/4 c oil
1 1/2 cup strawberry puree (about 1 pint of strawberries)

Put strawberries into food processor or blender and puree. I used fresh sweetened strawberries, but you could go with unsweetened or frozen and defrosted strawberries.

Mix ingredients in mixing bowl until light and fluffy. Bake at 350° for 22-28 minutes. Cool completely.

Strawberry Cream Cheese Frosting
10 tbs butter, softened
12 oz cream cheese, cold and cut into cubes
2 1/4 cups powdered sugar
1/3 cup strawberry pulp

In a food processor or blender puree 1 cup of strawberries. Push through a fine sieve to remove juice. You should end up with about 1/3 cup of pulp. (Reserve juice for a wonderful glass of strawberry milk- yummy!)

In a mixer combine butter and powdered sugar. Cover and beat until it is light and fluffy. Add cubes of cold cream cheese one at a time until combined. Scrape sides. Don’t over mix. Add strawberry pulp.

To Assemble Cake
Slice remaining strawberries and lay on paper towel to absorb some of the juice.

When cakes are cooled, spread 3/4 cup frosting over 1 cake round. Press strawberries in even layer over frosting and cover with additional 3/4 cup frosting (I find it easier to just frost the bottom of the top layer instead of trying to spread frosting across the strawberries). Top with second cake round and spread remaining frosting evenly over top and sides of cake. Garnish with remaining strawberries. Serve. (Cake can be refrigerated for 2 days. Bring to room temperature before serving.)

Super Lazy-girl’s version

Pour cake batter into 9 x 13 cake pan. Bake at 350° for 25- 30 minutes. Cool cake.
Prepare a half of recipe of frosting, this makes an ample amount to frost the top of a 9 x 13 cake.

Slice remaining strawberries; sweeten if desired. Serve pieces of cake with sliced strawberries or arrange on the top of the cake.

Original Country Cook's Recipe for Scratch Cake

Strawberry Dream Cake


Ingredients CAKE
  • 10 ounces frozen whole strawberries (2 cups)
  • 3/4 cup whole milk, room temperature
  • 6 large egg whites, room temperature
  • 2 teaspoons vanilla extract
  • 2 1/4 cups (9 ounces) cake flour
  • 1 3/4 cups (12 1/4 ounces) granulated sugar
  • 4 teaspoons baking powder
  • 1 teaspoon salt
  • 12 tablespoons unsalted butter, cut into 12 pieces and softened
 

Instructions
  • 1. For the cake: Adjust oven rack to middle position and heat oven to 350 degrees. Grease two 9-inch round cake pans, line bottoms with parchment, grease parchment, and flour.
  • 2. Transfer strawberries to bowl, cover, and microwave until strawberries are soft and have released their juice, about 5 minutes. Place in fine-mesh strainer set over small saucepan. Firmly press fruit dry (juice should measure at least 3/4 cup); reserve strawberry solids. Bring juice to boil over medium-high heat and cook, stirring occasionally, until syrupy and reduced to 1/4 cup, 6 to 8 minutes. Whisk milk into juice until combined.
  • 3. Whisk strawberry milk, egg whites, and vanilla in bowl. Using stand mixer fitted with paddle, mix flour, sugar, baking powder, and salt on low speed until combined. Add butter, 1 piece at a time, and mix until only pea-size pieces remain, about 1 minute. Add half of milk mixture, increase speed to medium-high, and beat until light and fluffy, about 1 minute. Reduce speed to medium-low, add remaining milk mixture, and beat until incorporated, about 30 seconds. Give batter final stir by hand.
  • 4. Scrape equal amounts of batter into prepared pans and bake until toothpick inserted in center comes out clean, 20 to 25 minutes, rotating pans halfway through baking. Cool cakes in pans on wire rack for 10 minutes. Remove cakes from pans, discarding parchment, and cool completely, about 2 hours. (Cooled cakes can be wrapped with plastic wrap and stored at room temperature for up to 2 days.)



Oct 1, 2017

Blackberry Cream Scones

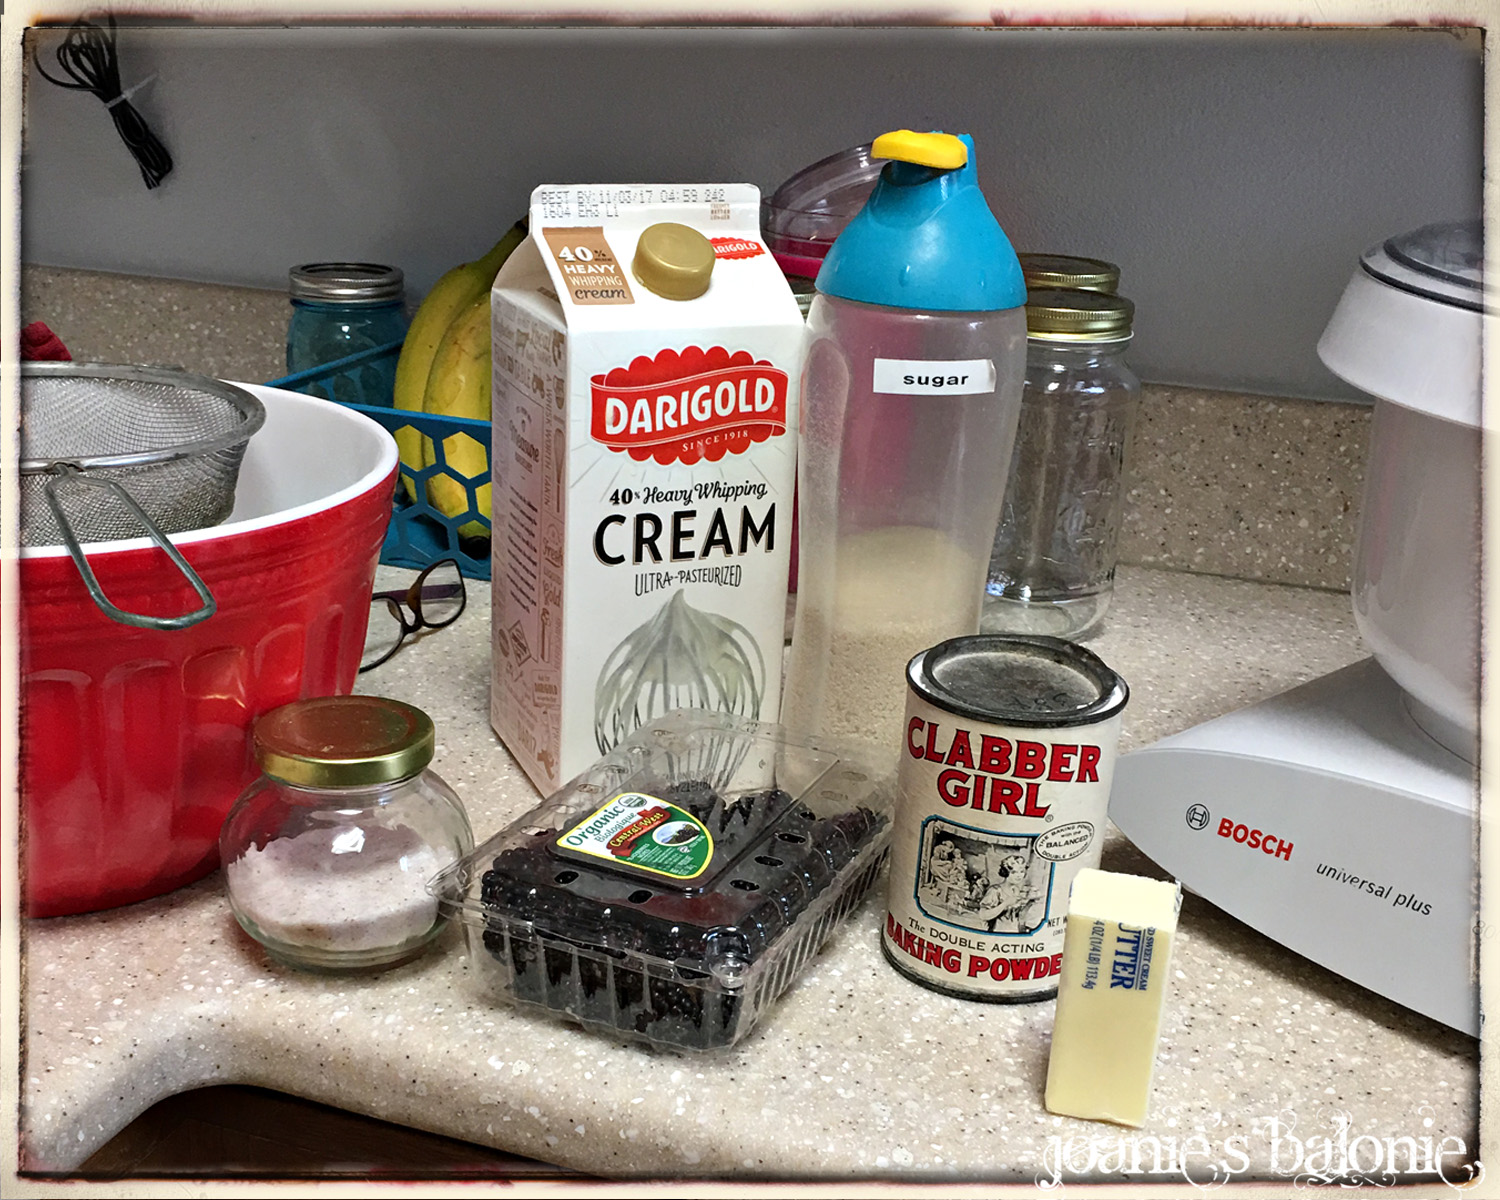
Friday I posted an instragram photo of my previous fail making these yummy morsels. Both Gordon and I agreed they were so bad that the remaining 6 went into the trash! I used baking soda instead of baking powder! And because I am a curious girl I went looking to see why that was a bad mistake! It turns out that too much baking SODA can give the product a bitter or soapy taste. But when you add an acid, which baking POWDER has in the form of cream of tartar, it neutralizes the bitterness. Ah, chemistry!!

So today, between sessions of conference, I was ready for a do-over on this very promising recipe.
I donned my apron (Nona's favorite pink one), assembled my ingredients, making sure to get baking POWDER, and set to work.


I made a couple of tweaks to this recipe- Friday the dough was too dry. I thought if I sifted the flour it might resolve that problem. Nope, so I just added more cream again. Is my cream to thick? (I love that problem!)

Another thing from Friday- when I folded in the blackberries they just got mooshed into a pulp. So I divided the dough and put them in between two layers.


Cut the circle into 8 pieces-


Transfer to a parchment* lined baking sheet-


Bake to a yummy golden brown-


This is a wonderful, toothsome treat- (even after you drop it on the floor!) They are very light, moist and delicious!


Right down to the last crumbs!!


Maybe next time I will add a little cinnamon to the dough, maybe top it with some sweetened whipped cream.

**
Funny story about the parchment paper.  I had a new roll in my food storage in the dungeon. When Bekah was here Camille came down to visit. The three of us were talking and cooking and the Bitties were playing in the dungeon with toys. Usually that isn't a problem. But for some reason, THIS-day it became extraordinarily quiet. When I went to check I found that they had opened the parchment paper box on the end and unrolled miles of paper looking for the chocolate chip cookies that surely MUST be inside since they were pictured on the outside of the box!

Bekah said, "Here Me-Mum. Just let me re-roll it!" She did, straightening the somewhat mangled paper, some torn off with jagged edges.  Each time I get out this roll now I chuckle about my Bitties, looking for cookies!

Blackberry Cream Scones
by 
  • 2 cups flour
  • 1 tablespoon baking powder
  • 3 tablespoons sugar
  • 1/2 teaspoon salt
  • 5 tablespoons cold butter, cut into small pieces
  • 1/2 cup fresh blackberries
  • 1 cup heavy cream (I needed to add 2-3 Tbs more)
  • 1 teaspoon vanilla paste
  1. Preheat oven to 425°. Line baking sheet with parchment and set aside.
  2. Placer flour, baking powder, sugar and salt into the food processor and pulse to mix.
  3. Remove lid and sprinkled the butter over the flour mixture. Pulse about 10-15 times till mixture resembles coarse cornmeal. Transfer mixture to a large bowl.
  4. Add vanilla paste to heavy cream, then stir in cream with a rubber spatula until the dough starts to come together. Pour out bowl contents onto a floured surface, and knead a few times, then carefully knead in the blackberries. I sprinkled a few on top, folded the dough over and repeated. You don't want to overwork the dough.
  5. Form dough into an 8-inch round (alternatively, you can press into an 8-inch cake pan lined with parchment, then carefully flip out). Cut into 8 wedges
  6. Place wedges on baking sheet and bake until tops are light brown, 15 to 18 minutes. Cool on wire rack for at least 10 minutes. Serve warm or at room temperature.
This is NOT my original recipe! 

Apr 24, 2017

Happy Bakers

It's been several months since I've gotten to have the Bitties at my house for Grammie day, I usually go to their house. There is something wonderful about welcoming them into MY domain. As I was walking this morning I thought, "What should we do today?" Mama was bringing the trolley (double stroller), but it looked like rain. I decided that baking bread was always a good idea and we haven't done that for over a year.

They arrived just before lunch so I had frozen bing cherries waiting for them on the counter (which needed to be warmed up, too cold!) Fiona was delighted with the purple cherry juice left in the bottom of her bowl (and Grammie was delighted with Liam's remaining cherries!) But as soon a sausage appeared on the counter it was all about the sausage for Liam!
 

Now I have to tell you about the sweet little apron that Fiona has on in this pix! A couple of weeks ago I got a surprise package from my sister, Sue.


As soon as I saw my old ducky apron I started to cry! I wore this so many times when I was my Mama's A#1 expert helper! So many sweet memories flooded back. I was so pleased that Sue still had it these 60+ years later! (I likely gave it to Cindy when she was a little girl, that is where all of my favorite things went!)

We had a little play time outside... until it started to rain (Yay for rain!), but no trolley walk today!

When I suggested bread making Fiona was still too wrapped up in playing so my first assistant was this very able-bodied boy. Both of these children are so smart and capable! He unwrapped the butter all by himself (Hiam do it! Yes, Hiam, he can't say Ls yet!)


When Fiona joined us a few minutes later she wanted her usual pink apron, "it's so beautiful!" And these obliging Bitties share back and forth so nicely!

They took turns putting in all of the ingredients (Yes, they used that word!) to make the dough! Every once in a while one or both of them would put their hands on their hips and say, "Hmmm!" Makes me laugh!! They did it all, even the egg cracking!


Grammie is always very liberal with tastes along the journey... isn't that what it's all about? Fiona did all of this spreading by herself! Such a confident big girl!


I gave them both a little knife to cut off tastes. Liam was so pleased to spread his own little sample.


 All told we made three loaves: one for eating now, one to go home with the Bitties and one for Grammie and Grampy to enjoy at their leisure! There was only about 3" left of that first loaf by the time we'd all, including Mommy, had our fill.

I revel in these marvelous times that I get to spend with my darling grandchildren! In the last two weeks I've had this treat with big (Ashton) and small (Fiona, Liam and Emmy). There is such a sweetness in being with these marvelous people.

I am such a blessed Grammie!

Jan 12, 2016

Makin' Bread

First off, I just want to say how grateful I am that Camille and Kevin let me have these Grammie-days! Usually I have Miss Bitty and Chunka-Monka every other Monday... We both look forward to these days.

Keeping my Mama, the original Grammy, in mind I try to think of the wonderful things we used to do when I was a little! My Mama was 39 when I was born; I was her 3rd family: after raising first, her brothers and then my sisters 8-10 when I was born. I truly was her little shadow and if we were going to cook something? Well, she couldn't possible do it without me!

After Chunka-Monka, the King-of-Snuggles, was down for his afternoon nap Miss Bitty and I had a job to do! Grammie's been NEEDING some cinnamon swirl bread!

I remembered that recently I'd discovered that my 3-step step-stool made a perfect perch for Bitty-helpers (It also doubles as a highchair!) so I brought it up from the furnace room.

After Miss Bitty was safely on her perch with her apron on, tied in front (Grammie, too), I got out the Bosch and recipe box. I found the recipe and handed it to her while absentmindedly saying, "First we need to read the recipe!" What a smart little girl!


Of course she had to accompany me on a trip to the dungeon to get the canned milk and pour it into the measuring cup to heat up. When it came time for the flour measuring we had a couple of spills, which is to be expected. Then she would pick up a little flour off the counter and then dust her hands onto the floor and just chortle! What a magical sound!

And every successful baker HAS to have a rolling pin! When Spencer's family was here at Christmas I devised these 1" PVC pipe rolling pins for all of the squishy play (read- Play-Doh).


YOU NOTICE HARLEY, HER EVERY FAITHFUL COMPANION, IS RIGHT THERE TO OBSERVE!

After we'd mixed the cinnamon, sugar and butter for the swirly part I asked Miss Bitty if she'd like to taste it. Ahhh, a taste-explosion in her little-girl mouth! AND another implement for dough manipulation!


Then she needed to spread on the yumminess! Notice that this is not the first trip from bowl to dough!


I asked her if she wanted to eat her dough. She quickly assented and popped the whole gaggy-blob in her mouth. Needless to say, it didn't stay there very long before she realized it was not going to go down. We took it out (read- Grammie caught it!) and cut it into smaller pieces just right for tasting.

Have you ever seen such a darling little taster??


When it was time for her and brother to return home we took one of our unbaked-loaves (on the heated seat!) to bake at her very-own house.

I'm so grateful that I have such a wonderful role-model as my dear Mama! I absolutely love this life of mine!

Dec 9, 2014

Linzer Cookies

I was invited to a Christmas cookie exchange by a new friend in my neighborhood. She's recently moved here from Virginia and this is one of her traditions from back home. I was excited for this way to welcome her.

A cookie exchange is usually about nice cookies... not just your run-of-the-mill chocolate chip cookies. (Although they are very yummy!) I knew that I wanted to use a cookie that I'd found 6 years ago online. I love any sort of shortbread cookie and then if you add raspberry it just kicks it up a notch. Behold the Linzer Cookie.


But here's the problem... I got a bad cold a week ago and have been feeling like Pooh-Bear- my head is stuffed with fluff! And although I am feeling better than I was, my brain is still not too sharp. I had the hardest time adding 38+15 last night trying to get to the that magic number of 60 cookies (wait... this gets better!)

Yesterday is when most of the work took place. I needed things from the store so I took a trip to Ream's and should have just bought blanched almonds but I'd just toasted 3 cups of UN-blanched almonds. The process of blanching is fairly easy, but time consuming and made harder by the fact that I'd already toasted them. Gordon came to help: many hands make light work! But did I get a photo? NO!


Those 3 cups of blanched almonds get ground up and added to the dough. I rolled and cut AND rolled and cut... for a long time- until I had the necessary 60 cookies. I made extra just in case some didn't turn out ok.


This morning I assembled the cookies. I wanted to use some of my homemade raspberry vanilla jam. Which, of course, involves more work to strain out all of the seeds. But definitely worth the effort.

Just add about 1 tsp of jam to the bottom of the whole cookie and then top it with one of the cut cookie.

Since I was making 60 cookies I needed a fast way to fill that center well... ah... my turkey baster!


NOW we get to the best part of this whole story-

I just looked at the invitation again, don't know why, and guess what?

I'm supposed to bring 6 dozen cookies...  NOT 60!

I was able to scrap together 68 cookies... 

OMSH... it's not easy being me!!)

Dec 19, 2013

A New Tradition!

Last week while I was making my gingerbread nativity the thought kept rolling around in my head, "Wouldn't this be an awesome activity with the grandkids?" I knew that the kids needed to be old enough to actually participate so that ruled out the littles. (As it turned out, Jude came to hang in the highchair and eat copious amounts of fruit and beans while Mama went to see if she could get her 2-week migraine under control)

(You know what I love the most about this photo? Yup, that family sign that proclaims- THIS is my family!)

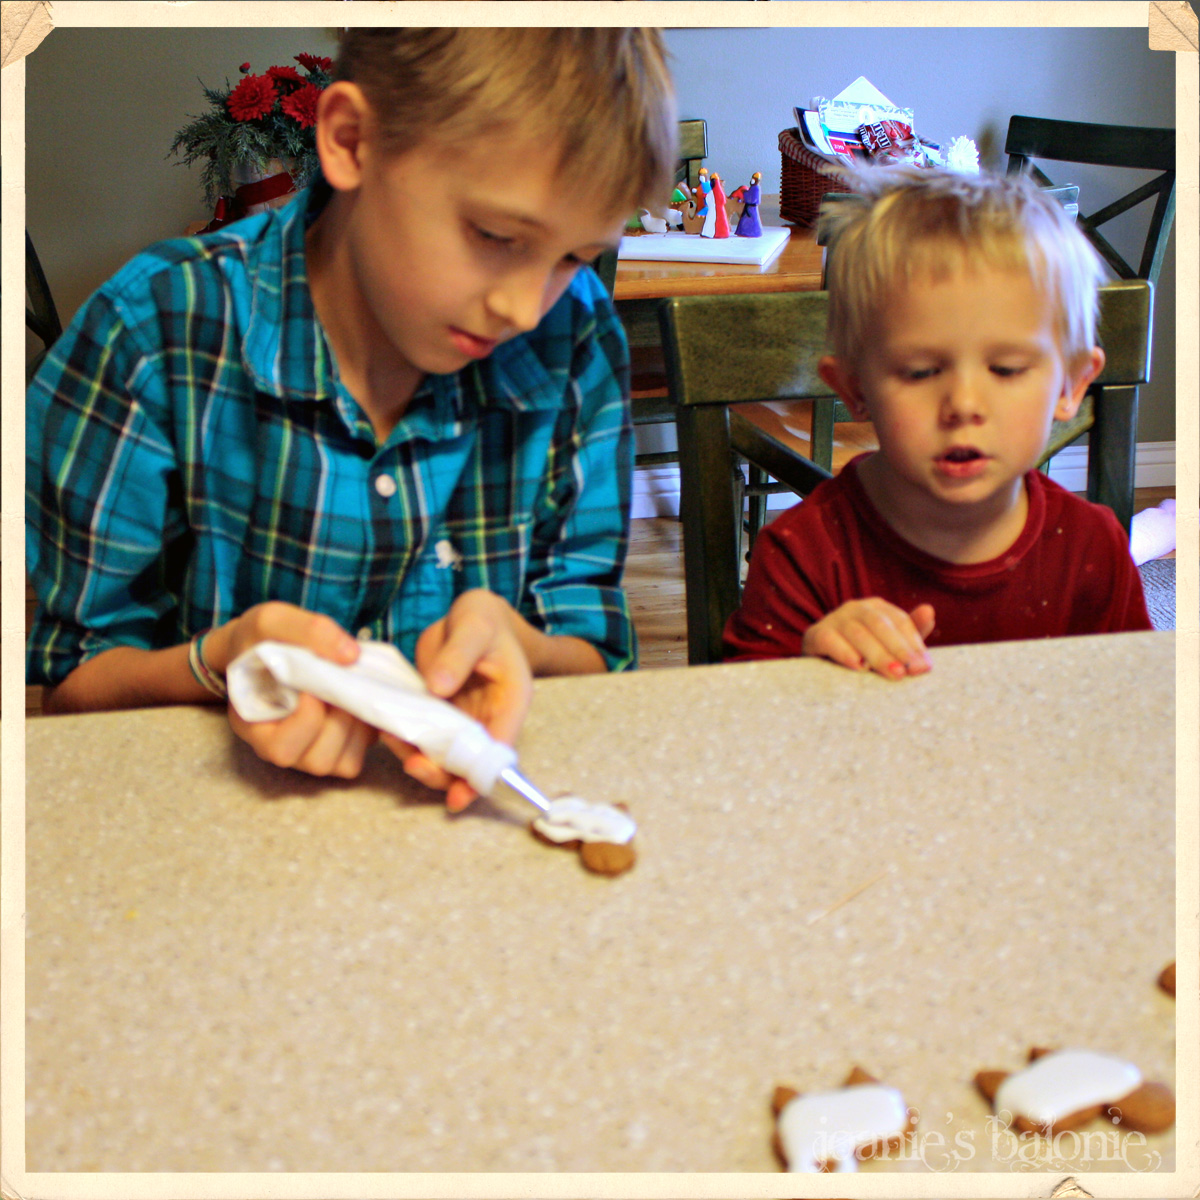
I knew that I needed to have the gingerbread baked and ready when the kids got here to keep this from being an all day affair. My plan was to have the icing ready too... but it wasn't so I had some champion frosting tinters on the job.


Once the frosting was tinted it was time to start decorating. I love how self-sufficient and creative these kids are. I gave them some general instruction and a demonstration and they were good to go.


Well, all except Sophie. It's hard when you have tiny hands.

(I just love her pixie hair!)

I told them about my black sheep and explained how the Savior's atonement cleanses us from all our sins when we repent. I'm so grateful that I can share my testimony with my grandchildren.


When it was time to go home Christian stayed for one last photo op!

(I do love this boy!)

Now can I just say a couple of things?
(Yes, yes I can! This IS MY blog after all!)

I am one of those lucky women who got to live my dream. As a child, when I was asked what I wanted to be when I grew up, my answer was, "I want to be a Mommie, just like my Mommie!" I wasn't always able to be a stay-at-home-Mommie (just like my Mommie) but I got to love and enjoy my children. It is the hardest and most fulfilling job I've ever had.

But you know what? This being a Grammie is perhaps even more satisfying. (I am the Grammie-spoiler NOT the Mommie-enforcer) I recognize just how blessed I am that I can be a part of these darling children's lives!

I'm in hopes that next year I will be able to include more of our grandchildren. I do love this new tradition!

Oct 18, 2013

Pumpkin Spice Cupcakes

Last year I ran across this recipe on Pinterest!

OMSH are these ever delicious! 

I made them last night to take to a Relief Society activity. They were a hit! So I knew I needed to share the recipe with everyone!


I got the original recipe here but my recipe reflects a few changes that I've made. I'm just grateful for the blessing of finding such an exceptional recipe!

Pumpkin Spice Cupcakes with Cream Cheese Frosting

Makes 24-28 cupcakes


1 cups unsalted butter, softened
1 3/4 cup sugar
2 large egg, room temperature
2 tsp pure vanilla extract
1 cup BUTTERMILK (makes all the difference in the world!)
2 1/4 cup flour
1 tsp ground cinnamon
1/2 tsp ground ginger
1/4 tsp ground nutmeg
2 tsp baking powder
1 1/2 tsp baking soda
1/2 tsp salt (omit if using regular butter)
1- 15oz can unsweetened pumpkin puree OR 2 cups


Preheat the oven to 350 degrees F. Grease the top of a standard 12-cup muffin pan (in case you get some “muffin top” action). Line pan with 12 baking liners. Sift the flour, spices, baking powder, baking soda, and salt into a medium bowl; set aside. In a separate bowl, whisk to combine pumpkin and milk; set aside also.

Using an electric mixer on medium-high, cream butter and sugar together until light in color and fluffy (I really beat mine... I think this is the key). Turn mixer down to low add eggs and vanilla. Beat well to combine (again with the beating). Next, add 1/3 the flour mixture, then 1/2 the pumpkin mixture, another 1/3 of the flour mixture, the remaining pumpkin mixture, and the last 1/3 of the flour mixture, mixing to combine after each addition. Fill baking liners about 3/4 full. Bake 20 minutes OR until a toothpick inserted in the middle comes out clean (a few tiny crumbs are OK but there should be NO wet batter). Cool 5 minutes in pan, then remove from pans to wire racks to finish cooling completely. Pipe or spread on cream cheese frosting, and enjoy!

Pipeable and Not-too-sweet Cream Cheese Frosting
3/4 cup butter, room temperature
2 1/4 cups powdered sugar
1 tsp pure vanilla bean paste (notice the beautiful little vanilla bean flecks in the frosting?)
a pinch of salt (omit if using regular butter)
8 oz. (1 block) cream cheese, cold and cut into 6 to 8 chunks

In a larger mixing bowl, cream the butter, powdered sugar, and vanilla until thoroughly blended and fluffy; about 5 minutes. Add the cream cheese, a chunk at a time, beating after each addition (just enough to work it in until it’s smooth. I just turn the mixer to low and drop them in.). Scrape the sides and mix in any unmixed bits. Be careful to avoid overbeating or the cream cheese may start to break down and become gloppy. If not using immediately, chill until needed, then beat again until smooth just before using.

Cupcake / Half recipe (no need to half frosting*)
Makes 12 to 14 cupcakes


1 cup PLUS 2 Tbsp flour
1/2 tsp ground cinnamon
1/4 tsp ground ginger
1/8 tsp ground nutmeg
1 tsp baking powder
3/4 tsp baking soda
1/4 tsp salt
1 scant cup canned unsweetened pumpkin puree 1/2 of a 15 oz. can]
1/2 cup milk
1 tsp pure vanilla extract
6 Tbsp (3/4 stick) unsalted butter, softened
3/4 cup PLUS 2 Tbsp sugar
1 large egg, room temperature
1 large egg yolk, room temperature

* I tried making a half recipe in my Bosch and it was too difficult to get it right.

Sep 8, 2012

Domestic Goddess

Today was MY day!

I started the day by eating fresh raspberries and peaches (ah, I love this time of year). But then it was a time to get busy.

bread & jam

First on my list was to turn 18 *clam shells* of raspberries into raspberry-vanilla jam! I made some back in July and I NEEDED more. Of course, it helps that Ream's had raspberries on sale again.

Next on the list was tomatoes. This is a sampling of what's growing in my garden this year.

tomatoes

I planted two heirloom tomatoes: a golden and a purple. The are pretty but in my book you just can't beat the taste of those good ol' Early Girl[s].

Let's see, where were we? Jam x 21 half pints... tomatoes processed. Don't you think that ought to be enough for a Domestic Goddess.

WELL NO!

My trouble-maker neighbor has been posting her wonderful oatmeal bread all week long!

sliced bread

AND I did just happen to have one half pint of open raspberry vanilla jam!

jam on bread

Oh yeah, that's what I'm talking about!

bite

Gordon says, "I have a suggestion for you- DON'T BE GIVIN' AWAY ANY OF THIS BREAD!"

Feb 21, 2011

Mom, You Really Are The Little Red Hen!

I mentioned earlier that Gordon got me a new Bosch mixer. I love it! I realize I didn't NEED it, but it is wonderful.

Since yesterday was Grammie-dinner AKA 3rd Sunday family dinner I decided that I wanted to make some wonderful whole wheat rolls. So after church I ventured into the dungeon to get a can of wheat... from 1978 (oh yeah, that's what I'm talkin' about)! I had to really dig to find my Magic Mill II which was lurking in the back corner of my pantry; poor thing hasn't seen the light of day for a decade! I pulled out my Madge May Whole Wheat Roll recipe from 1974. She was a sweet lady I knew in Priest River, Idaho who helped me learn to bake good whole wheat bread and rolls.

Fast forward through the mixing, shaping, while the home teachers were here, making a cake, in the new Bosch, turning chunk pineapple into crushed pineapple with the food processor attachment (what? that's not a fast forward?) Camille and family arrived just in time to see me putting the rolls into the oven.

"Mom, are those Rhodes dough rolls?

"Nope."

"Jessica's rolls?"

"No."

"Well?"

"I got wheat from the dungeon, ground it and made my very own rolls!"

"MOM! YOU REALLY ARE THE THE LITTLE RED HEN!!"

Photobucket

The other fun thing is this...

"Holy Deer-Poo, Grammie!" Doug cracks me up.

20- deer poo

But you know... he's right!  When the snow melts  this is what my lawn looks like!

Dec 30, 2010

364- Homemade Cinnamon Raisin Bread

Anyone who's read my blog for very long will realize that I LOVE BREAD! baking and eating! It has been a passion of mine since I started to cook 45+ years ago. And I do have to say that I was never truly happy with the results until I got my Bosch Mixer in 1977. That is when I became a good bread baker!

I ran across a recipe this fall at Pioneer Woman's Blog for this Cinnamon Swirl Bread and found that it was very tasty! I've made it several times, but last night's loaf really *took the cake bread*!

I've loved cinnamon raisin toast since I was a tiny girl and last night at this time I just NEEDED some cinnamon raisin bread.  Oh, yummy!

364- yum

Doesn't this just make your mouth water?

364- cinnamon toast

Maybe you should give it a try... you won't be sorry.

ADDITIONAL NOTES:
  • This dough rises much faster for me than indicated in the original recipe (I use Red Star Active Yeast and store it in the freezer). It rises double in 30-45 minutes.
  • When I brushed the top of my loaf with the egg/milk mixture it caused the bread to stick to the pan
  • Be sure to use a 9x5x3 or larger loaf pan.  This is a large loaf and will spill over the edges of a smaller pan
  • I preheat my oven for about 3 minutes (doesn't matter what temperature setting), turn off the oven, turn on the oven light,  then put my loaf in the warm oven to rise.  Remove the risen loaf before preheating the oven to bake it. (I do this with all my bread except in the middle of summer.)
  • Oh yeah, add raisins to PW's recipe (click on link above, she has cool step by step photos)

Oct 7, 2010

280- Cook-shees

Do you remember when the *cookie stores* became all the rage back in the late 70s? Maybe if you weren't a cookie-snarfer, like me, you wouldn't.

Cookies, for me, are one of those ultimate comfort foods. When we would go to visit my Grandma in Oakland, CA she would always have a full cookie jar and I don't recall there being any limit on how many I could have (good thing I wasn't a piggy little kid!). They were always moist and chewy... yummy!

Anyway... I loved those wonderful chocolate chip cookies that were all the rage, but I didn't like the $1 per cookie price tag! So I set out on a mission to perfect my chocolate chip cookie recipe.

The first thing that I knew was a must is... I MUST USE REAL BUTTER! In my book there is just no substitute. From there it was just a process of trial and error on the amounts for the other pretty standard ingredients.

What brought all of this to mind was that Spencer texted me on Sunday and wanted my recipe so he and Deborah could try them out.  She'd been getting recipes off the internet and *they just didn't measure up* in Spencer's opinion!  Then he called this morning to tell me that they weren't turning out like he'd remembered (turns out that they didn't have cookie sheets and were baking them in a deep dish metal pan. Spencer had the idea to turn it over and bake them on the bottom of the pan and that seemed to do the trick.)

I pulled up my email I'd sent him with the recipe to see if I had the amounts correct. Then I went to the NEW recipe box and dug until I found the original recipe from nearly 30 years ago! Oh MY! What a totally loved and messy little 3 x 5 card!

280- cookie recipe

These cookies have been made hundreds of times at my house! They've christened each new oven, being the first thing baked. It was one of the first things Camille learned to make and she has become a champion cookie baker!

So? Should I share it with you? OK... there it is... I challenge you to read that spotty mess! bwahahahaha


You should be able to right-click on the image and choose  
save image as
to save and print this recipe